Two groups finish their paper bridges. One holds more coins, and the room has a winner. Then someone notices that its supports are closer together. The class has compared two setups as well as two designs, so the result cannot show what the different folds contributed.
That is the planning problem behind NGSS 3–5 engineering fair tests: control the conditions, consider repeated trials and use failure points to decide what to improve. For a short classroom build, agree on the comparison before distributing the materials. “Which fold carries more under our test?” is a more useful question than “Who can make the strongest bridge?”
Put the test beside the design brief
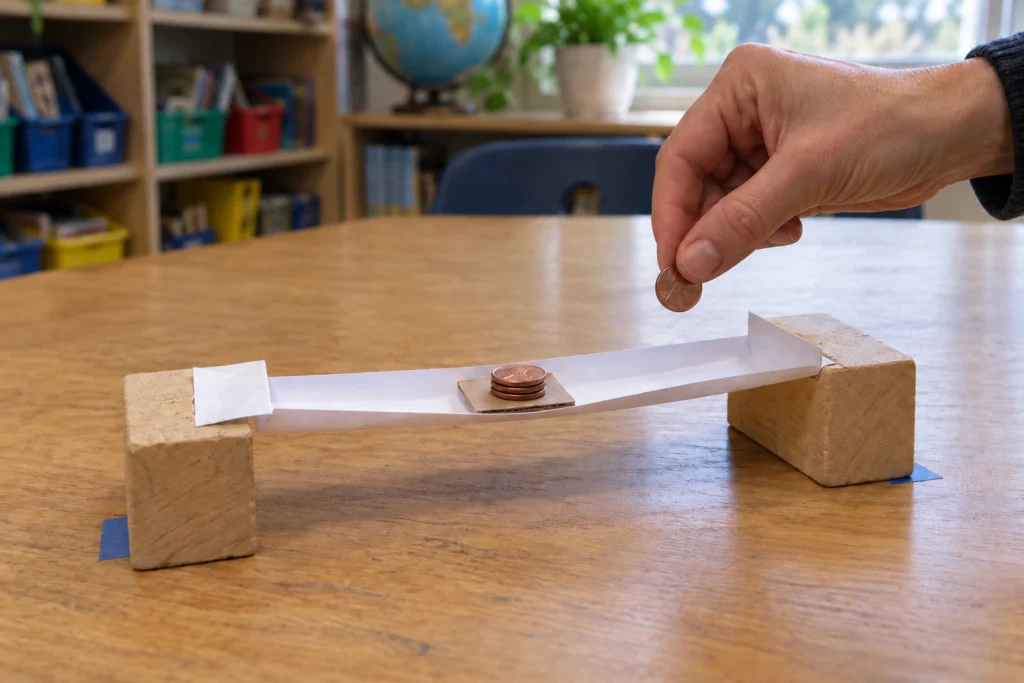
A paper bridge gives this decision a visible form. The Science Buddies paper-bridge activity uses folded sheets, supports and coins to explore shape. A teacher can narrow that activity to a comparison between two folds made from equal sheets. The material, unsupported gap and loading method then belong to the test setup; the fold is the feature being compared.
Write a short test agreement where both groups can see it. For example:
- Use one fresh sheet per bridge, from the same paper pack and cut to the same starting size.
- Use the same two stable, equal-height supports. Mark their positions so the gap cannot quietly shrink.
- Place the bridge in the same direction, with its ends resting on the supports in the agreed positions.
- Add coins from the same set, one at a time, at the marked centre. Use the same small loading pad if a pad is needed.
- Stop when the centre touches the tabletop, a support moves, or the bridge slips off. Record which event occurred.
These are example classroom rules, not a prescribed span or a claim about how many coins a shape should carry. The teacher should try the setup beforehand, choose a manageable gap and keep the work low on a clear tabletop. Use materials appropriate to the pupils, supervise the coins and collect them afterwards. Nothing needs to be tested with body weight.
A slipped support is especially useful information. It ends that attempt, but it does not prove that the paper fold was weak. Restore the marked setup and repeat with a fresh specimen if the original has creased. Quietly pushing a support back during loading would hide the very event the class needs to discuss.
The useful result includes what happened
Keep one line for each attempt: fold used, coins supported before the stopping event, and where the movement began. “Twelve coins, then the middle touched the table” tells another group more than “failed at thirteen.” Agree whether the coin being added at the moment of failure counts; apply the same rule throughout.
Make more than one fresh example of each fold when time allows. A carefully creased sheet and a damaged one are not identical specimens. If the results vary, keep that variation in the record rather than choosing the best attempt from one design and the worst from the other. Compare the attempts made under the same conditions.
For the next build, change the feature the evidence points to. A collapsing centre might justify trying another fold; repeated slipping might require a separate investigation of the end contact. Changing paper, span and loading position together creates a new test. Save that wider challenge for another round, with its own question, so pupils can explain what their first comparison actually showed.